I started by going to my local Hobby Lobby to by a cardboard to serve as my base. It turns out that all they had were small, flat letters. Since my house sits back from the road a pretty good distance I decided I would need something larger and more dynamic to draw attention from the road. Instead of buying a letter I made my own base from a cardboard box. I did pick up two spools of natural sisal Hobby Lobby to make the wreath. I’ve seen similar products at Walmart and Michael’s so don’t if there’s no Hobby Lobby where you live. I decided on the sisal because I liked the color and texture better than the twine. If you like twine, yarn and jute better you can still follow the same simple process I did with the media of your choice.

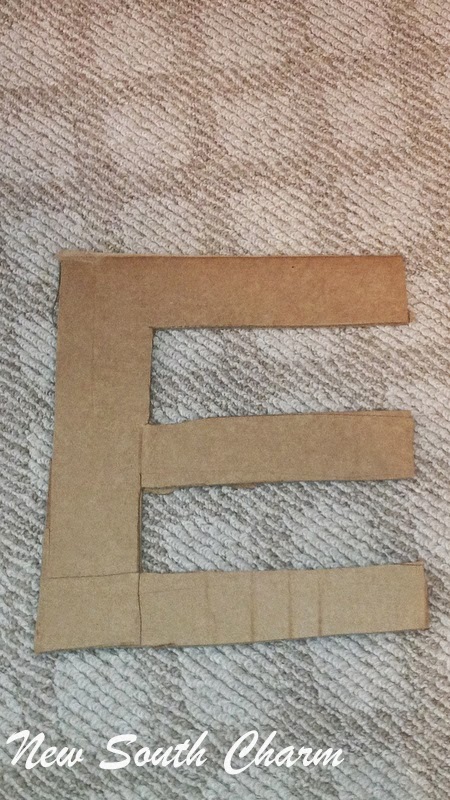
I started by recycling a cardboard box to make the base for my wreath. I laid the box down and drew out the “E” then cut it out with a box cutter.
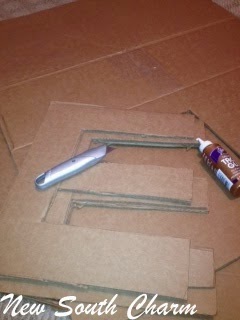
Next I cut out two more identical letters. Then I glued them all together using Aleene’s Original Tacky Glue. I left it to dry for a couple hours. Next comes the tricky part, you will need to cut pieces of the sisal (or whatever you choose) and glue them to cover the ends of your letter. I think you can see the vertical pieces at the top of the picture. These are just short pieces I cut and glued down across the edges of the “E”. It will be different for every letter. For a “T” there would be three edges to cover, for a “S” two and for a “W” five. Once you’ve done this part the rest of this project is a E-A-S-Y!
After it dried I began wrapping the sisal around the cardboard. Because I wanted it to have a lot of shape and be very organic I worked the sisal around randomly in a very loose manner. I worked on this at night while the hubby and I watched American Idol, so I can’t say how long it took me to finish. Now that it’s done I think it is TOO CUTE! Check out the finished product below.

Let me know what you think.
Feature Link: http://theorganisedhousewife.com.au/love-it-like-it-link-it/love-it-like-it-link-it-16/
Happy Crafting!
Susanne


Leave a Reply